> ## Documentation Index
> Fetch the complete documentation index at: https://docs.ambient.commure.com/llms.txt
> Use this file to discover all available pages before exploring further.
# Appointment-Based Integration
The appointment-based integration allows you to sync your note to the EHR without ever needing to open it. It is only available to certain EHRs, and it is accessible across all platforms when enabled - meaning, the Commure Ambient app, mobile, and the Chrome Extension.
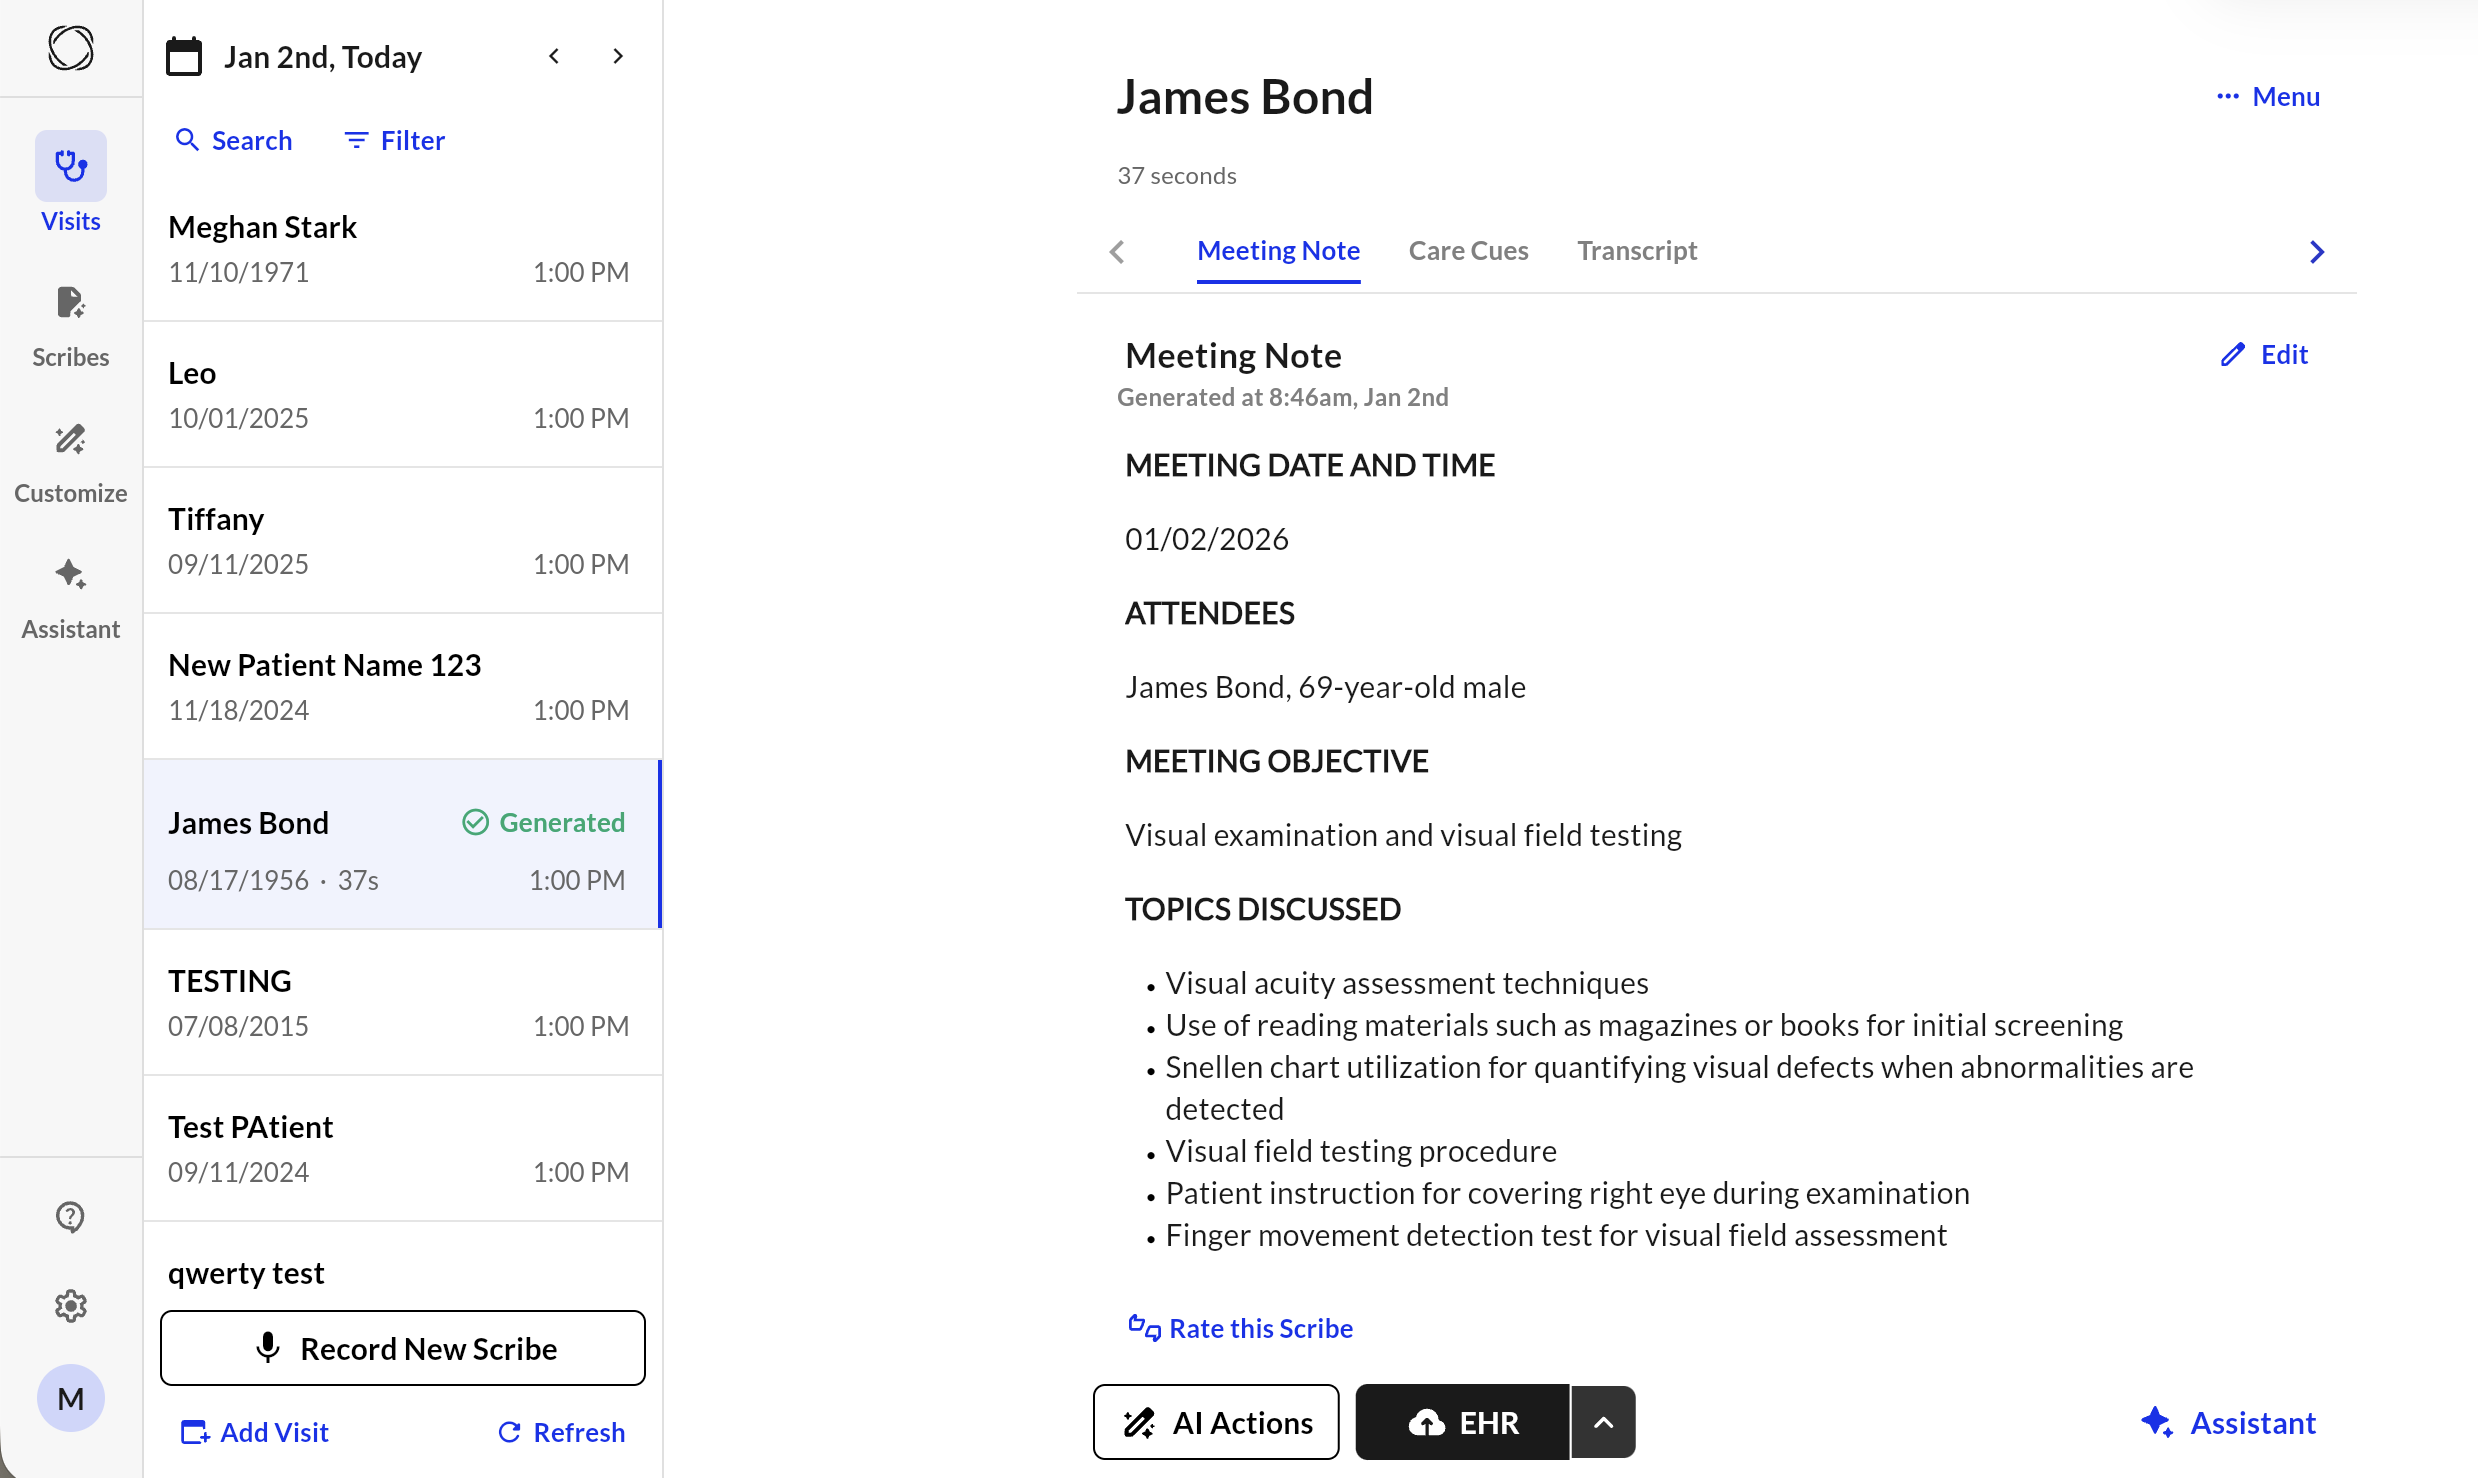 ### **How it works**
Commure Ambient integrates directly with your EHR to import your appointment into the application. Through the linked appointment, we can locate the patient's chart and write the note back automatically - all without you ever entering the EHR.
1. Start and complete a recording from an appointment listed in the **Visits** tab.
2. From anywhere (mobile, web, or Chrome Extension), open the generated scribe.
3. Click the **EHR** button to sync.
4. The note will be sent directly to the corresponding patient chart in your EHR. This step can take anywhere between 5 seconds to 30 seconds depending on your wifi speed and your EHR. The sections in your note (e.g. History of Present Illness) are already mapped to specific text fields in the patient's chart.
5. Open the note in your EHR. You may need to refresh the page to see the changes.
1) Unlink the appointment
* Open the generated scribe.
* Select **More** in the top right corner. This should open a drop-down.
* Click on **View Linked Appointment**.
* In the pop-over, click **Unlink Appointment**. This will break the link between the scribe and that appointment.
* At this point, the **EHR** button will be grayed out.
2) Re-link the scribe to the correct appointment.
* Select **More** again in the top right corner.
* Select **Link Appointment**.
* In the pop-over, select the correct date. It will default to today's date when nothing is selected. You should see a list of your visits sorted chronologically on that date.
* Click on the correct visit from the list.
* Finish by clicking **Link Appointment**.
3) **Fix the patient's information:** If the patient name and information is incorrect, navigate to **AI Actions** > **Regenerate Note**.
4) The **EHR** button should be **black**. If so, the scribe will now sync to the correct patient.
## Supported EHRs
Commure Ambient supports integrations with the following EHR platforms:
* AdvancedMD
* Axxess
* A2C
* Athena
* CareTracker
* ChiroTouch
* Clarity
* Clinicient
* CreliO
* CureMD
* Denial Appeal
* Dialogix
* DrChrono
* DrCloud EHR
* eClinicalWorks
* Elation
* Empower
* Epic
* Experity
* Gastro
* GEHRIMED
* Greenway Health
* Healthie
* HealthPAC
* HelloNote
* HENO
* I Know Med
* InSync
* Kareo
* LabXchange
* MDLand
* Medent
* Meditab
* Meditech
* Meditech Expanse/Expanse NOW
* Meditech Magic
* MedStreaming
* MediYeti
* ModMed
* Net Health
* NextGen
* Office Ally
* Phoenix
* PICASA
* Practice EHR
* Practice Fusion
* Praxis
* Prognocis
* Prompt
* RapidRAD
* SelfDocAIMR
* Springville SFTP
* Synergy
* TherapyNotes
* TheraOffice
* Unified Practice
* Valant
* WebPT
Interested in learning more about our integrations? Reach out to us at [support@ambient.commure.com](mailto:support@ambient.commure.com).
### **How it works**
Commure Ambient integrates directly with your EHR to import your appointment into the application. Through the linked appointment, we can locate the patient's chart and write the note back automatically - all without you ever entering the EHR.
1. Start and complete a recording from an appointment listed in the **Visits** tab.
2. From anywhere (mobile, web, or Chrome Extension), open the generated scribe.
3. Click the **EHR** button to sync.
4. The note will be sent directly to the corresponding patient chart in your EHR. This step can take anywhere between 5 seconds to 30 seconds depending on your wifi speed and your EHR. The sections in your note (e.g. History of Present Illness) are already mapped to specific text fields in the patient's chart.
5. Open the note in your EHR. You may need to refresh the page to see the changes.
1) Unlink the appointment
* Open the generated scribe.
* Select **More** in the top right corner. This should open a drop-down.
* Click on **View Linked Appointment**.
* In the pop-over, click **Unlink Appointment**. This will break the link between the scribe and that appointment.
* At this point, the **EHR** button will be grayed out.
2) Re-link the scribe to the correct appointment.
* Select **More** again in the top right corner.
* Select **Link Appointment**.
* In the pop-over, select the correct date. It will default to today's date when nothing is selected. You should see a list of your visits sorted chronologically on that date.
* Click on the correct visit from the list.
* Finish by clicking **Link Appointment**.
3) **Fix the patient's information:** If the patient name and information is incorrect, navigate to **AI Actions** > **Regenerate Note**.
4) The **EHR** button should be **black**. If so, the scribe will now sync to the correct patient.
## Supported EHRs
Commure Ambient supports integrations with the following EHR platforms:
* AdvancedMD
* Axxess
* A2C
* Athena
* CareTracker
* ChiroTouch
* Clarity
* Clinicient
* CreliO
* CureMD
* Denial Appeal
* Dialogix
* DrChrono
* DrCloud EHR
* eClinicalWorks
* Elation
* Empower
* Epic
* Experity
* Gastro
* GEHRIMED
* Greenway Health
* Healthie
* HealthPAC
* HelloNote
* HENO
* I Know Med
* InSync
* Kareo
* LabXchange
* MDLand
* Medent
* Meditab
* Meditech
* Meditech Expanse/Expanse NOW
* Meditech Magic
* MedStreaming
* MediYeti
* ModMed
* Net Health
* NextGen
* Office Ally
* Phoenix
* PICASA
* Practice EHR
* Practice Fusion
* Praxis
* Prognocis
* Prompt
* RapidRAD
* SelfDocAIMR
* Springville SFTP
* Synergy
* TherapyNotes
* TheraOffice
* Unified Practice
* Valant
* WebPT
Interested in learning more about our integrations? Reach out to us at [support@ambient.commure.com](mailto:support@ambient.commure.com).